NEW: FUJI FILM instax mini 8

It's been too long SUNFLOWERS
How are all of you for the longest time?
I hope you all had a fun and great summer. To be honest, I am actually deadly sick and sadly... I lost my voice too so no videos at the moment either cause I can't do any voice overs. I did buy a new toy/camera for myself and it was worth it because I am really in love with it.

Here is my Lovely New Camera

So this camera comes with all this in this little box.


 The instructions on how to fix, how to put the film in, and not only that, helps with the lighting on how to work the flash and everything. I actually had to read and understand how each flash works before using the camera at all. It is really helpful and useful. You may have to fully read through 1-2 of the papers.

Not only that, the camera does not come with film so you will have to purchase that separately. The color of the camera is actually a pastel yellow. The other colors besides the black and white are all pastel if the color is solid. There are many other designs but you have to order them online from special sites and the may be priced high. Just depends on where you purchase it. I bought mines at Urban Outfitters and it was priced... "OKAY" I guess. It was about $117USD after tax which turned out to be a great investment. Film on the other hand, You can purchase there for like $30USD at Urban Outfitters for but I get mines from Walmart for about $17 for 2 packs. Each packs comes with 10 film. Unless you want the fancy colors, nice frames, and more, I suggest buying them online for cheaper.

This is how the inside looks like along where the battery place is.


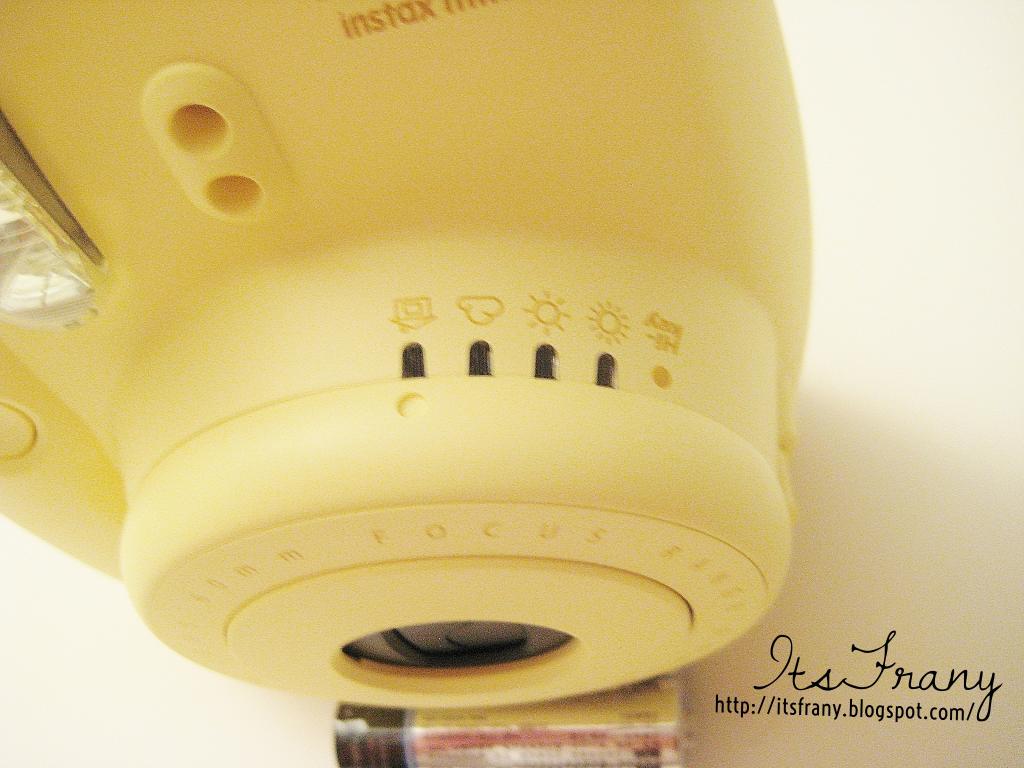
This photo shows the different types of settings of light you may get. Depending on the day, you have to use a different setting. Yes, It does make a BIG difference because it helps with how the picture may turn out to look. Especially the weather and if you are indoor somewhere. There is instructions on how each one works and it is a MUST to read it for sure!!!

Overall.... I love the camera!! 
It is very usefully, easy carrying but the only down fall about it is that it does get dirty easily so you may want to buy a separate case of possibly get a little carry bag to out in your purse or backpack. I have not had it long enough to take it with me on a vacation spot but I will let you know for sure when I do.


Thank You all for Reading!!
I will post more when I can and hopefully I will.
My YouTube is getting sad and lonely without new videos so I should do that too...


Thank You all for the Support!!

SEE YOU ALL IN MY NEXT POST!!!

A Little Hallway Project

Hi Everyone!

I hope you all are having a fantastic week thus far.  My week has gone by so incredibly fast that I cannot  believe the weekend is just around the corner (not complaining).  The only aspect of this weekend I'm not thrilled about is the weather.   Can you believe it will be 100+ degrees both days! Crazy. 

It's funny how seasons are consistent, yet every summer I'm astonished at how hot it gets every. single. time. Well, onto more exciting news.

I found some adorable white frames a couple of weeks ago while perusing the isles of Home Goods that I wanted to share with you.  Now that our home is beginning to take form (style wise), I've been making more of a conscious effort to add more family/vacation pictures around my home.  I don't plan on adding too many - just a few to add that special touch.  It's interesting how I always manage to find the cutest things while on my lunch break.  By the way, my husband fears the words "oh, I'm just out and about killing time during my lunch" ;)

Once I got home from work the search began for that perfect spot.  I quickly realized that finding the perfect spot wasn't going to be the challenge, but rather getting them leveled and spaced just right without leaving a gazillion nail marks.  Has that happened to you?  Please say yes, I'll make me feel better.

I decided to hang them on the left side of this wall - as you can see, it looked pretty plain before.  For a moment (or more like an hour, really), I contemplated getting a third frame but decided against it and just leave it as is for now.


To prevent leaving this wall scarred like I have so many, I finally decided to put into practice a tip I saw on t.v. a long time ago and most recently on Pinterest.  Why I never tried this is beyond me as it could have saved so many walls.


Tools used: nails, hammer, leveler, paper (8.5 x 11) and tape


Can you see a partial face here?  It's just missing the smile.


I first marked the paper and then hammered the nail into place.


Used my leveler to ensure both frames were straight.

How cute is this little girl?

As you can see, it was quite easy to do and it worked like a charm.  Now for the really difficult part, finding what two pictures to print from the many we have taken over the years.


This was a small project but I feel the hallway looks so much better.  Now on to the next project!

Until next time and thank you so much for reading.

Karina

My First Natural Floor Cleaner


I hope everyone is having a relaxing and enjoyable Sunday.  This weekend has been dedicated mostly to family and I love it!  It's so refreshing to surround yourself with people that love you and feed you with positivity and give you tons of hugs.  Later today we will be attending a birthday party for our niece who is turning 10.  I still can't believe how little she was when I first met her, she was only three years old!

But before heading over to the party, I wanted to share with you my new discovery that has completely changed my life.  Okay, that might be a little dramatic, but you will understand my exaggeration when you see the pictures I am about to share with you.  Now, I may be a little late to the party, and you might be thinking "Karina, are you just finding out about this? Where have you been?"  But don't worry, I get that all the time from my dear husband who thinks I was introduced to planet Earth when we met.  I sometimes think he is right. :)


This is what I was working with (see picture above).  Let me begin by saying that this is not the result of poor cleaning on my part (just putting that out there), but rather the result of using a floor cleaner that simply did not work well for me.  The streaks and cloudiness were driving me crazy!  I purchased several cleaners with no luck.  I began to think that maybe it wasn't the cleaners that were the problem, but maybe I wasn't using them properly (special technique perhaps?).


I tried to capture the poor condition of my floors in pictures, but be assured, they looked a lot worst in person.  To help with my situation, I decided to do a quick online search for possible solutions to my dilemma.  I was so glad to find a plethora of homemade floor cleaner recipes.  I must say though, I was a bit skeptical about using a homemade product that seemed so simple, especially one that called for vinegar as an ingredient.  However, after reading plenty of rave reviews from others, I decided to give this cleaner a try. 

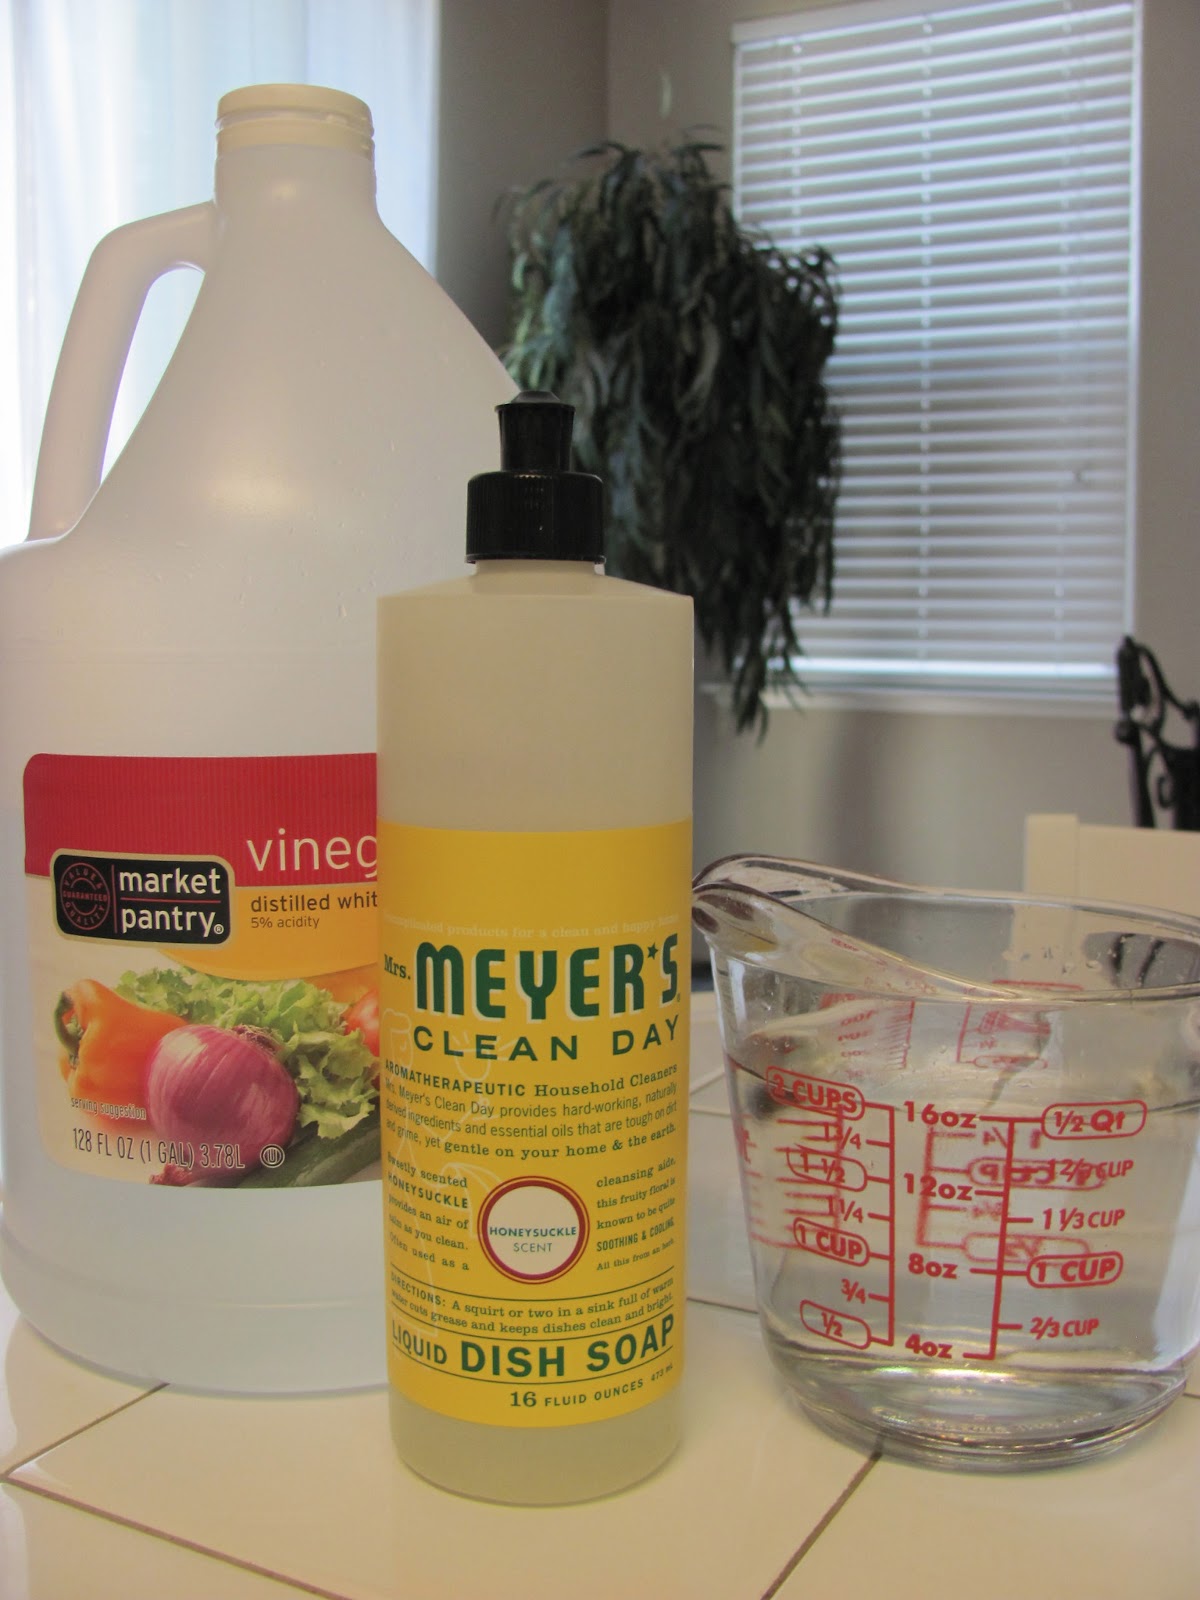
By the way, I am loving this soap from Meyer's

The original recipe (along with many other homemade cleaning products) can be found here.  I adapted the recipe to make a smaller batch just in case it didn't work well for me. 
  • 8 cups of warm water
  • 2 tablespoons of mild dish soap
  • 1/4 cup vinegar
Pour all three ingredients into a spray bottle and mix well.  Then, lightly spray the floors and mop away.  Please make sure not to pour the product directly onto the floor because doing so can damage it.  I also made sure to test a small area prior to using the product throughout the house.  I wanted to help my situation not make it worse. 


I have to say that I am very impressed with the results.  Not only did it clean my floors with ease but it left them free of streak marks and cloudiness, plus it was so cheap to make!  I will definitely continue to use this cleaner. 


Disclaimer, if you are sensitive to the scent of vinegar then you will not like recipe.  However, this problem can be easily fixed by adding a few drops of your favorite scented oil to the mixture.  I don't particularly mind it as the scent doesn't seem to linger for very long, but I will definitely be adding some to mine next time I remember to buy some from the store.


If you have experienced this problem, please let me know in the comment section below.  I would like to hear all about what floor product(s) you are loving and what has and hasn't worked well for you.  I am actually looking forward to making more homemade products.  I think my next one will be detergent :).  Wish me luck!


Thank you so much for reading, I truly appreciate it! 

I hope you have a fantastic week ahead of you. 
Karina